
Sending bulk email
In this article:
- Introduction
- Step 1: Select and manage email recipients
- Step 2: Create the email content
- Step 3: Preview the email
- Step 4: Schedule and send the email
NOTE: This article assumes you have opted to use the updated email features in LGL. We have an equivalent article based on the original LGL Email feature.
Introduction
IMPORTANT NOTE: In order to be able to email directly from LGL, you must first enable LGL Email in your account.
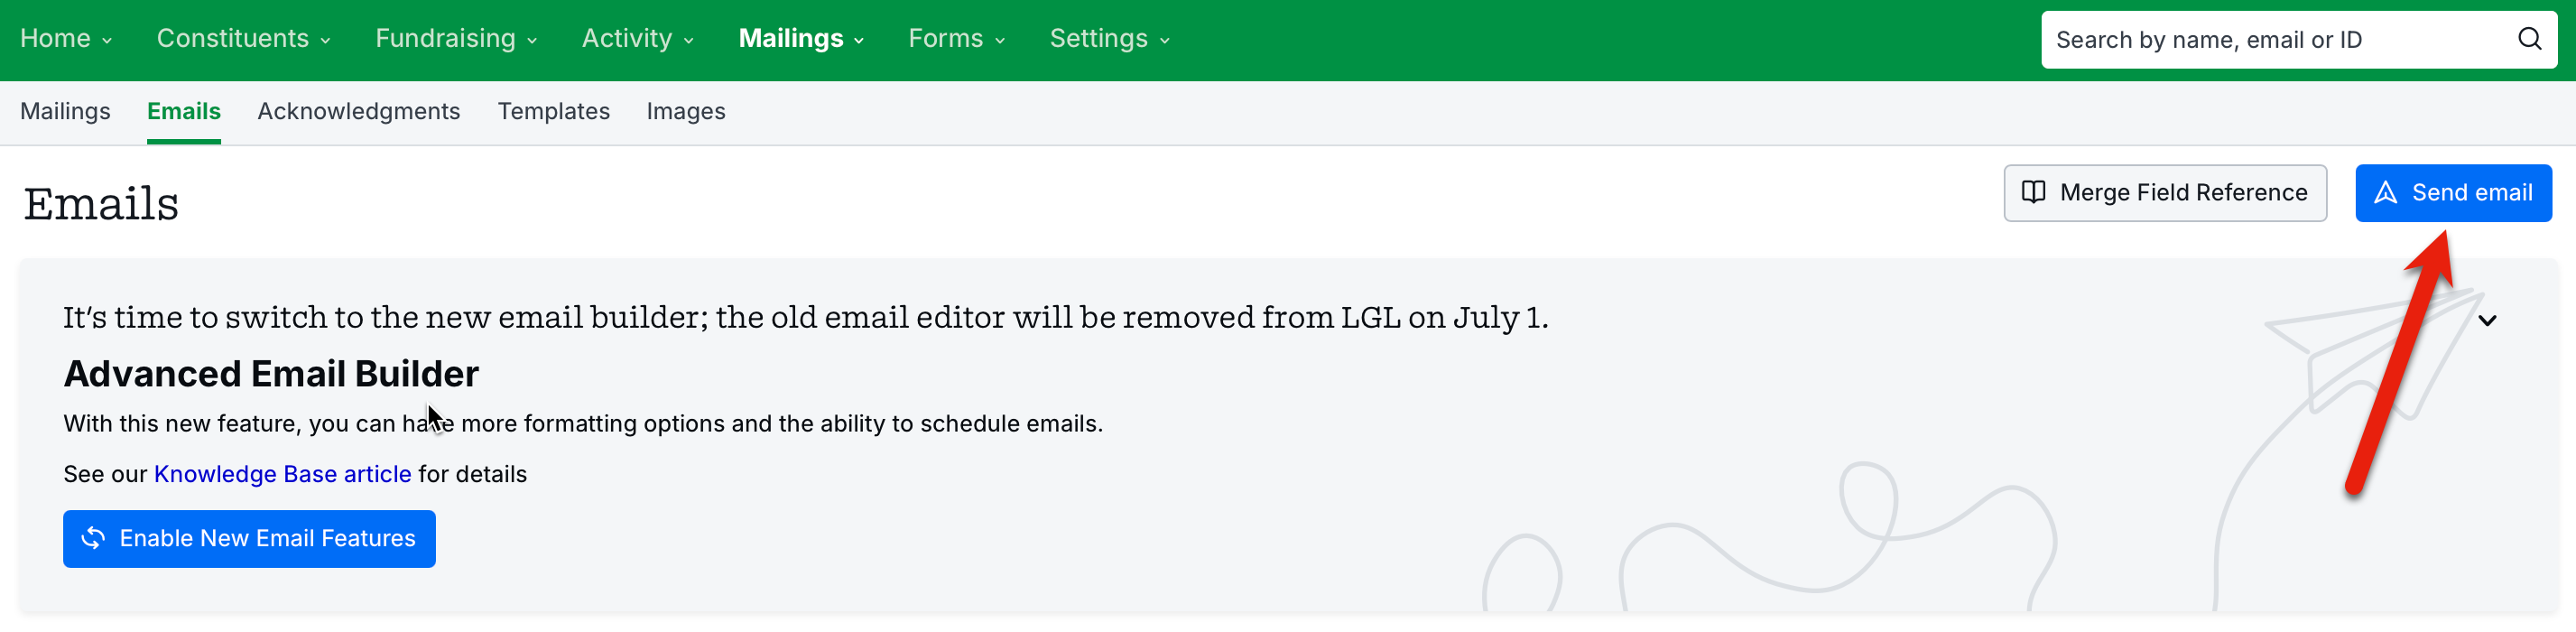
To create an email to send to multiple people, go to the Mailings tab and select Emails from the dropdown menu. Then click the Create email button shown here:
Here's a video laying out the functionality in the new email builder. You can follow the written steps below the video to send your email.
Step 1: Select and manage email recipients
In Step 1. Recipients, you can build your email list by 1) searching for people or 2) adding individuals one at a time:

You can also 3) remove individual recipients in bulk:

The Recipients step also gives you a view into your recipients/exclusions so you can easily see who is excluded and be able to better manage that list. In the upper right section of the page, you can see a summary of your recipients.

In the lower sections (refer to the screenshot above), you have access to three tabs related to recipients where you can see the following information:
- Recipients - Constituents who will receive the email
- Manually removed - Constituents who were manually excluded
- Excluded - Constituents who were automatically excluded due to being deceased, being assigned the “do not email” communications tag, or not having an active, valid email address.
NOTE: There is a built-in check for recipients tagged as "deceased" or "do not email". Whenever either of those tags has been added to a recipient's constituent record after an email is scheduled but before it is sent, a status of "No Longer Valid" is displayed for that recipient and they will be excluded from the email.
Title your email
You can change the title of your email at any point during the stepped process by clicking the title at the very top of the page. Then make your change and click the “save” icon.

NOTE: You can also create a new email by building your email list using a constituent search. Once you run your constituent search, click the Create email button.

You’ll be taken to a popup where you can add your email’s title and select its category.

Once you complete those fields, you’ll land in Step 1 of the email builder.

Step 2: Create the email content
In Step 2. Content, you create and format the content in your email. First, we will show you how the tools and functionality work together, and then, in the next section, provide instructions for adding content to your email: “Instructions for creating your email content”.
Overview of how it works
The functionality in Step 2 lets you control how your email looks. Elements (or blocks) are available that you can add to your email. To add a new element, hover your cursor over a section break and click the “+” sign.
Element options include heading, text, button, image, divider, columns, and more. When you click on any Text element, you’ll see the option to add merge fields. (Or you can type two open brackets “[[” to open the list of merge fields and insert one.) You can toggle to see merge field descriptions and select favorite merge fields. Controls are also available for the look and feel of the global email and each email element.
Here’s where you control the global look and feel of your email as well as the look and feel of each element.

These are the elements that are available to add to your email. Hover on a section break and click the plus sign (+) that displays to see all the elements that you can add:

Here’s the plus sign you’ll see when you hover on a section break:

Examples of how a few of the elements can be used in your email content:

NOTE: You can add elements by clicking the plus sign, as shown above. Or you can click the Element tab shown below. If your cursor is "outside" of the email when you select it, the element will be added to the bottom of the email content.

To delete an element, click into the element and then click the "trashcan" icon.

Instructions for creating your email content
Write your email from scratch in the content pane, or apply an email template by clicking the Apply Template button.

Formatting options for your email are available in the right column, within the Global tab:

You also have the ability to add elements to your email by switching to the Element tab, also in the right column. Elements include headings, text, buttons, images, columns, spacers, and more:

When you’re ready to add your content, click into the content area and start working.
LGL merge fields become available when you click into a Text element. You can either click a merge field to add it to your content, or you can type a double bracket within your content pane and a dropdown menu containing the available merge fields will open:

Add your content, including any elements, set up formatting, and insert your merge fields.
By default, you can see a preview of how your content will look by selecting the Preview option, shown here:

You can also preview how your email will look on a mobile device by switching to Mobile view in the upper right corner of the content pane:

Sending a plain text email
To send the most basic-looking emails possible, you can set padding to 0 in both the Global and Element areas and set the “Content max width” to 1200. This combination will result in a plain email with no colored page background.
Instructions for those settings are provided below.
Global settings
In the Global settings area of the email builder:
- Set all content padding sliders to 0 pixels
- Set content max width to 1200 pixels

Element settings
The element settings are specific to your text block. Click into the text block, and within the Element area to the right set all padding sliders to 0 pixels:

Send a test
To check what your email will look like, send yourself a test email from the Content step, as shown here:

The result
Removing all the padding and setting the content max width as described above will result in a plain text email like this one:

When you’re ready to preview how each email to each recipient will look, proceed to Step 3. Preview.
Step 3: Preview the email
In the preview step, each email is merged and available for you to preview.

There is a list of all email recipients to the right, as shown above. You can click on a name to jump down to a preview of that email. You can also edit the name information for the recipient on the fly by clicking Edit Name Info, also shown above. So if you need to update or add an email address or change the salutation, for example, you can edit that portion of the constituent record here.
Step 4: Schedule and send the email
In Step 4, you can schedule an email up to 30 days in advance (but at least one hour in the future). Just click the Schedule button and make your date/time selection. Your recipient list will be automatically updated with any changes to the “Can send email” list (those who are not deceased, do have a valid email address, and are not tagged as “Do not email”). However, the overall search that you used to create your email recipient list will not be re-run prior to sending; the email will use the search results as of the time you created and established the send date/time for the email.

It’s also possible to send your email right away by clicking the Send immediately button.